How to Build a Coworking Space with no Money and Lots of Time
We’ve never been great at documenting our projects. Usually, once we finish building out a space, we dive right into marketing it and tackling the hundreds of other small business tasks that we’ve let accumulate. By the time we get a free moment to do a post-mortem, we’re exhausted, and the last thing we want to do is spend time writing a recap. Almost two years after we embarked on the buildout of our second Downtown Seattle coworking space, I’ve decided to try to document the project and attempt to write down some lessons we learned for posterity.

The space before we started demo and construction.
Background
In the summer of 2020, at the height of the Coronavirus pandemic and soon after we learned we would be losing our flagship building to redevelopment, we decided to take over a new location in Seattle’s Belltown neighborhood, just a block north of the historic Pike Place Market. It was difficult to make a new commitment while the economy seemed to be collapsing, but we were fortunate to get the opportunity and determined to keep a presence in the Downtown Seattle market.
Because we had almost no new revenue coming in at the time, we were short on funds and long on time. We made the decision to try to manage the construction in-house. This presented a new challenge to our team. We had done a lot of our own work in the past, but had always hired a GC to manage subcontractors for everything from framing and drywall to building systems like HVAC, electrical, and plumbing.
For this project, I was be the de-facto GC and earned a trial-by-fire education in construction management. I didn’t completely butcher the project, but I did gain a renewed appreciation for the great value a competent GC provides.
The Scope of Work
For the first time in TPC’s short history, we were taking over a space that had previously housed another coworking space. One might think that would make our job easier, but it actually presented a lot of challenges. The first decision we had to make was whether or not we’d close down the space to do the work. COVID-19 eventually made that decision for us, as there were only of handful of members from the previous space actively working when we entered the picture. We shut down all but our virtual office memberships and a few offices that would be outside of the dust zone for the entirety of 2020 and set a goal of “soft opening” to early adopters in early 2021.

Next, we needed to decide what parts of the space we would keep, what we would scrap and replace, and what we would improve. Makers Workspaces (originally The Makers Space) had existed since the early days of coworking in 2011, and they had developed a unique aesthetic and vibe. The original owners were interior designers by trade. They won awards and were featured in numerous books for their design of the space. Ten years had passed since they opened Makers however, and the needs of members had changed significantly since then. We needed to address these new needs in order to make the business profitable. We also wanted to make the space our own, making upgrades to form and function, without being unnecessarily wasteful. As with our past projects in historic buildings, we wanted to avoid over-building, and instead let the character elements of the building stand on their own. We also needed to incorporate some health and safety measures that would stand the test the time, and try to avoid the reactionary COVID measures on which many businesses were spending large amounts of their precious cash.
Managing Complexity
For a project of this size, there are hundreds of small tasks and subtasks with intertwining dependencies. Many of these workstreams happen concurrently and/or are dependent on each other, but I’ll attempt to outline some of the major work categories we needed to tackle:
Task 1 - Design and Planning
We hired the stellar team of architects at UrbanADD to help us formulate a plan, a budget, and create a set of drawings that we could use to permit our remodel. Our process always starts with Audrey and I drawing out masses (boxes) to create a basic programming layout for the space. In this case, we needed to decide what we would be demolishing in addition to what we would be adding while trying to predict what the ideal mix of coworking, offices, and meeting rooms would be in a post-COVID market. We knew that to make this location profitable, we needed to modernize the programming to include more small private offices, so we started there. We also needed to enclose meeting rooms that previously featured open ceilings. Finally, we correctly assumed that there would be increased demand for small, tech-enabled huddle rooms with the move to remote meetings, so we included four of these in our program. To inform material and finish choices, we create an inspiration boards, made up of designs we admire and think would compliment the building’s character.
Here’s an example of an inspiration board for this project

Audrey’s first take on a basic massing sketch.

Crude office elevation sketches on a napkin…or in this case, MS Paint

A little more refined. The architects at UrbanADD sketched out a heatmap based on our programming discussions.

UrbanAdd’s early renderings after our initial planning meeting. They look pretty close to the finished product.
Task 2 - Sell Off Old Office Furniture
The first lesson I learned through this project was to always take over an empty space. For a confluence of reasons I won’t get into, we ended up taking possession of the space with most of the furniture, fixtures, and equipment (FF&E) from the previous operator still in it. We wouldn’t do this again. As we’ve mentioned in previous posts, we’re very deliberate and particular about our FF&E. We take a bottom-up approach, selecting each component individually and often designing and building custom pieces. In order to expedite the transfer of the space, we agreed to buy all of the existing FF&E, not just the pieces we wanted. This caused a few issues. For one, we had to repeatedly move furniture around the space and apply masking to protect it from dust, dry-fall ceiling paint, and spilled energy drinks once the contractors started work. Secondly, used office furniture is always fairly illiquid, a fact that was exacerbated by the glut of it that hit the market due to the wave of subleasing and office flight in 2020. Everyone was selling and even the dealers we normally used to unload bulk items weren’t buying as their warehouses were full. Eventually we were able to give away, sell or repurpose everything in the space, but it took much more staff time and mental energy than we anticipated.

Task 2 - Demolition
Once we had a plan for the remodel in place, it was time to demolish and remove select elements of the previous build. Because we weren’t dealing with hazardous materials like asbestos and lead, this was a pretty straightforward, low skilled job. In other words, a perfect task for me. With the help of our framer, Raul, we ripped out a few thousand square feet of old carpets, partition walls and decorative beams and took a half dozen trips to the North Transfer Station to recycle the reusable materials and dump the rest.

Task 3 - Office Builds
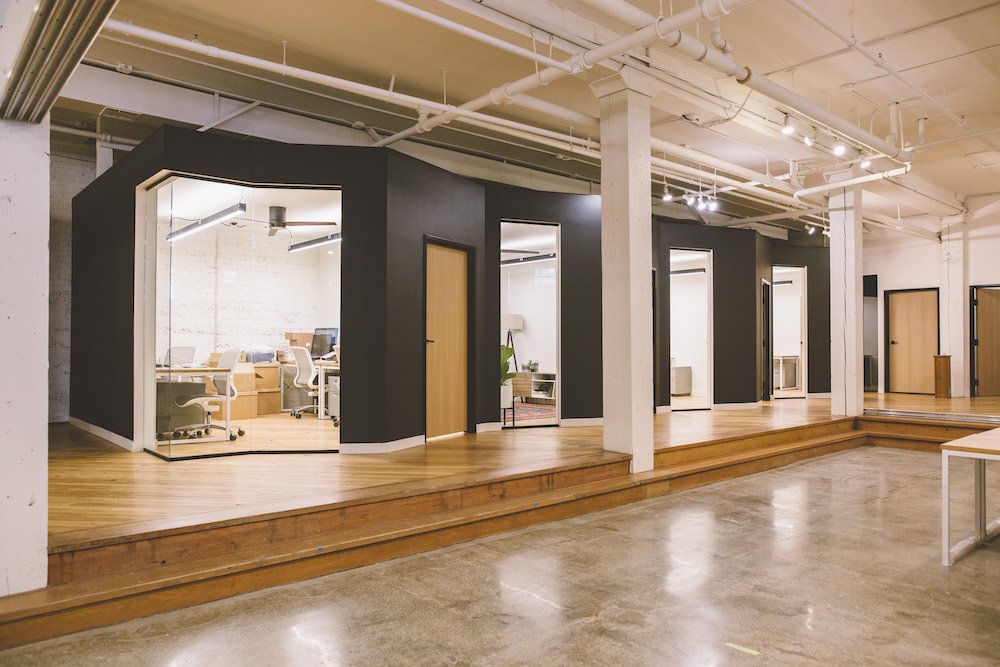
The existing floor-plan included 9 offices, but they weren’t enclosed (the walls only went 3/4 to the ceiling) which amounted to large cubicles with no real sound privacy. It was an easy decision to enclose these areas by framing out full height walls and adding commercial doors and glass relites. In order to comply with code, this also meant we had to update the sprinklers, HVAC and electrical in each office as well. This is usually the most expensive part of any build and presumably why the previous operator hadn’t enclosed the offices to begin with. Because we needed to permit this project anyway, it was in our interest to think ahead and add a few net new offices in addition to the nine we would enclose so we didn’t have to go through the process again at a later date. In all, we needed to get a master permit, electrical permit, and fire/sprinkler permit. We decided to add four more offices along the long brick wall on the north side of the space. This would normally be an obvious financial decision, but in the middle of 2020, every dollar we invested felt particularly risky, as we still weren’t sure if our industry would even exist whenever the emergency phase of the pandemic ended. To give them some visual interest and orient them to the large windows on the south and west of the space, we angled the fronts of the offices, creating pentagon shaped rooms instead of typical rectangles.

Steel stud framing of offices 102, 103 and 104
Task 3.1 Electrical
While we were updating the electrical in the offices, we also decided to modernize electrical system and add some lighting in the common areas. Inexplicably, the main lights in the space were not event controlled by switches when we moved in. You had to turn the circuit on and off at the panel. That was just one of many electrical issues we needed to solve, so we brought in the pros at Blue Core Power. They ended up spending over a month in the space, but it was worth every penny.
Task 4 - Paint
One of our main goals was to brighten up the space and bring visual interest to the new offices we would be building. Initially, we’d hoped to sandblast the gray painted columns throughout the space, but the price quotes we got were high by an order of magnitude, so we decided to paint them white. We then added contrast by painting out the new offices and beadboard paneling in a charcoal tone called Iron Ore by Sherwin Williams. Every wall in the space also got a refresh of White Dove Eggshell.

Task 5 - Floors
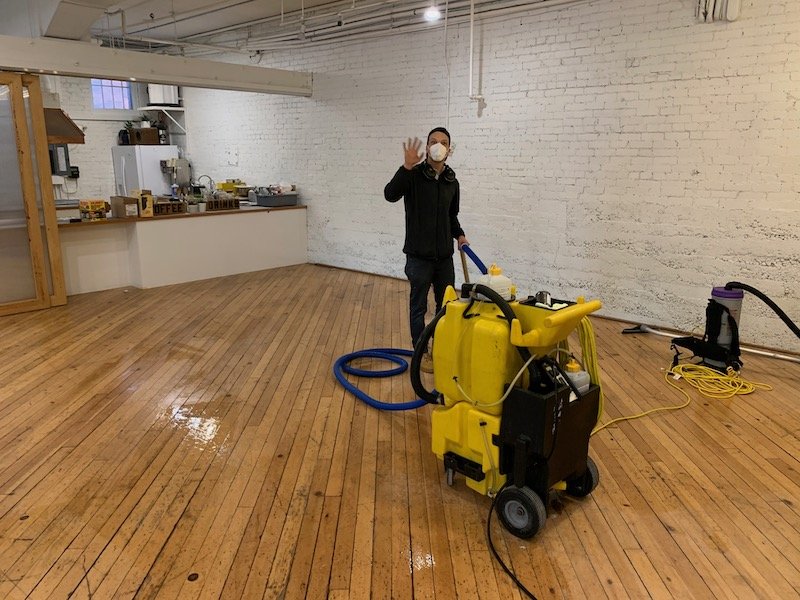
In its former life as a furniture showroom, the space was built with many different levels to showcase different room motifs. The flooring in these areas ranged from cool antique fir floors to carpet to epoxy. The fir was very worn and patined, but ultimately in pretty good shape, so we elected to repair the soft spots and hired our friend Jeff at Cleaning Theory to sand and refinish. The epoxy film in other areas had been broken and cracked from years of moving furniture around for events. We had to decide between rolling out a new coat of epoxy or starting the painstaking and expensive process of removing it to get down to the concrete that we could polish. After some consulting with Jeff, we opted for the latter option, and it was one of the best decisions we made. The polished concrete really brightened up the darker areas of the space, and because of the varied ceiling textures and other factors, didn’t create as much of an acoustic issues as we thought it might.
Task 6 - Glass and Doors
I quickly realized that commercial glass is not easy to buy as an industry outsider off the street. There are only a few manufacturers of hardware, information is opaque, and there is a protected supply chain of resellers and installers, so it’s not easy to buy glass and hardware as a non-construction professional. Once I was able to navigate the CR Laurence website and choose my product line, I called a sales rep and explained what I was trying to do. She was about as enthusiastic as your average City of Seattle employee, but eventually explained to me that I needed to send in material takeoffs (essentially a cut-list of each rough opening), pay up front, and then my hardware would be made to order and delivered in 6-12 weeks. I also learned that commercial glass is purchased locally, separate from the hardware, and has to be ordered by a professional glazer. For this part of the process, we contracted Tom Mcintosh Glass and Glazing who measured out our space and then ordered tempered glass from OldCastle Building & Envelope. Once the framing was completed, the glass channels arrived, and drywall was hung, the glazers came back in to install the large frameless glass relite panels. We designed a pretty modern, clean relite, with the panels sitting in a minimal black C-Channel. I realized after the fact that this type of non-technical hardware probably could have been purchased from a local building supplier and powder coated for about 20% of the price I paid from CR Laurence. Live and learn. The entire glass purchasing process was a learning experience and will be a lot easier the next time around. It was fun to see the guys set the glass in with their large suction cups. Most of the panels fit the first time, but on a few, I had to mediate disputes between the framer, drywaller and glazer. Every party claimed the other measured wrong. I ultimately ended up redoing some of the rough openings myself to expedite the process.
Ordering the doors was the most frustrating part of the project. Like other construction materials, there is a complicated door supply chain, and it isn’t easy to walk in off the street and buy what you are looking for. I provided material takeoffs and specified solid rift white oak doors from Lynden Door. Lynden referred me to a local reseller, from whom I ordered 15 solid doors and black metal frames. The reseller quoted a 6 week turnaround time. 8 weeks later we had no doors and no update. 10 weeks later, no doors. 12 weeks later, no doors. The salesman’s story kept changing regarding why they hadn’t arrived, and I eventually ended up driving to the warehouse to figure out what was going on. I was able to connect with the owner of the company who figured out the doors had arrived, they just had been tucked away and mislabeled. Frustrated, but relieved that the doors existed, I scheduled a delivery for the next week. When it arrived the driver of the truck parked in our alley and then informed me that his back was sore and he couldn’t help me unload. I ended up carrying all 15 8’6” solid core doors on my back up the Lenora St. hill and into the job site. After that my back was sore too. The next day I set up 15 makeshift sawhorse stations and sanded and finished each door with Rubio Monocoat. After a day of drying, I passed them off to the framer for hanging.
Task 7 - Structured Cabling
Once the build was substantially completed, we brought in our trusted vendor, NW Structured Cabling, to lay out Cat6 Ethernet runs. There was quite a bit of legacy cable throughout the space, but unfortunately much of it had been stapled in place and was damaged, so I ended up demoing most of it. NW Structured then came in and ran cable to every office and to specified points throughout the space for wireless access points and security cameras. After two days of running cable, he handed it back to us to configure our network and light the space up with WiFi and Internet connectivity.
Task 8 - Inspections
Throughout the project, we had to pass a number of inspections in order to move on to the next phase of construction. Before hanging drywall, we needed to pass a framing inspection, before completing the offices, we needed to pass a sprinkler inspection and before final inspection, we needed to pass an electrical inspection. Once I had those sign-offs in hand, I was able to schedule the final inspection in order to officially get an occupancy permit, the document that gives you permission to open to customers. Leading up to the inspection date, I was pretty nervous that I had screwed something up and that we’d get red-tagged, but other than requesting that we add an extra exit sign, the inspector passed us with flying colors and handed us an occupancy permit, which meant we could officially welcome in-person coworking members and meeting room customers.
Task 9 - Built-Ins
Riding the high from managing the buildout I, perhaps foolishly, decided to design and build our dedicated desks in Belltown in-house. I sketched out a design inspired by old library carrel desks and asked Audrey to teach me enough Sketchup that I could build a 3D model and cut-list. Next, I ordered finish materials from my family at Sierra Forest Products and framing lumber from Limback’s in Ballard. I cut the components down to size in the back lot over a few days and then realized that an extra set of hands would make the project go about 5x faster, so I called Don from Weld & Glue back in for consulting and assembly. We framed the first 12 desks and hung the finish panels in three days. I added the oak trim in another 2 days. And then spent a weekend finishing. Don and I learned some valuable lessons with each set of desks and made notes on the process, which proved very helpful when we decided to reuse the design in our Ballard coworking space 18 months later.

Task 9 - Furniture, Fixtures, Equipment
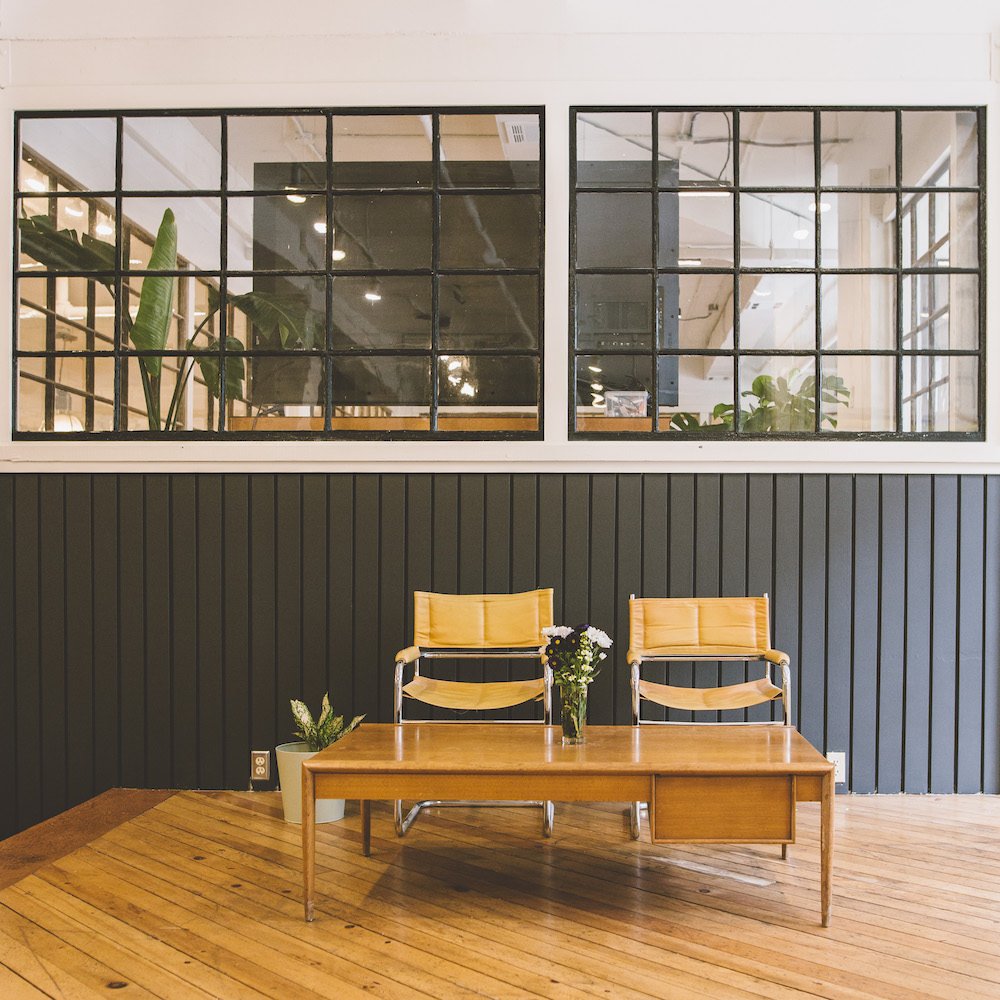
Once the majority of construction was finished, we got to start on our favorite part of the job - furnishing it. We always work using a bottom-up approach to design, mixing custom built furniture, vintage classics, and brand new pieces. Not only does this give TPC spaces a unique aesthetic, it also allows us to hit tighter budgets (new office furniture depreciates faster than a Range Rover), and reduce our carbon footprint. Coworking is already much more carbon efficient than traditional office leasing. Leased offices produce 158% more emissions than flexible offices by one account, but TPC takes that even further by purchasing materials and finished furniture second-hand. A dirty little secret of the traditional office industry is how much furniture and equipment goes to waste, especially during boom times. Corporate users are notorious for abandoning entire floors of entirely useable furniture when they move offices and replacing it with brand new furniture from a dealer. Luckily we’ve found a number of great local partners who divert as much of this waste as possible, by selling pieces to companies like TPC and breaking down and recycling the rest. For this project, we were able to purchase barely-used designer task chairs at 50% off retail. We worked with Weld & Glue to custom build all of the desks and conference tables in the front half of the space and purchased like-new Steelcase workstations for the back half of the space from a company that had recently abandoned its office space to go 100% remote. As always, the more residential pieces like soft seating and credenzas were handpicked from vintage dealers around Seattle.
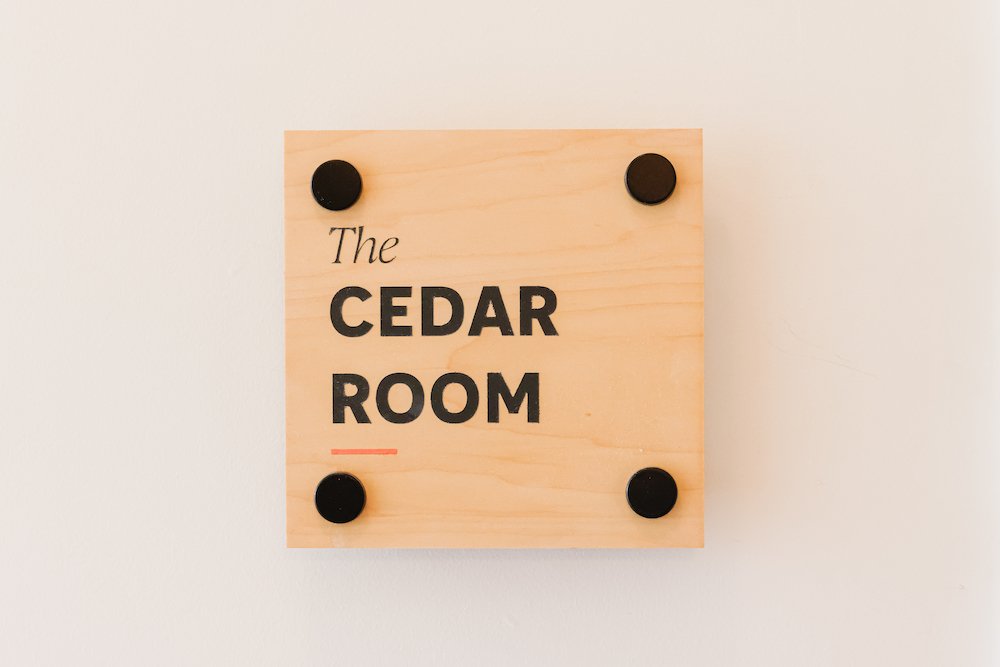
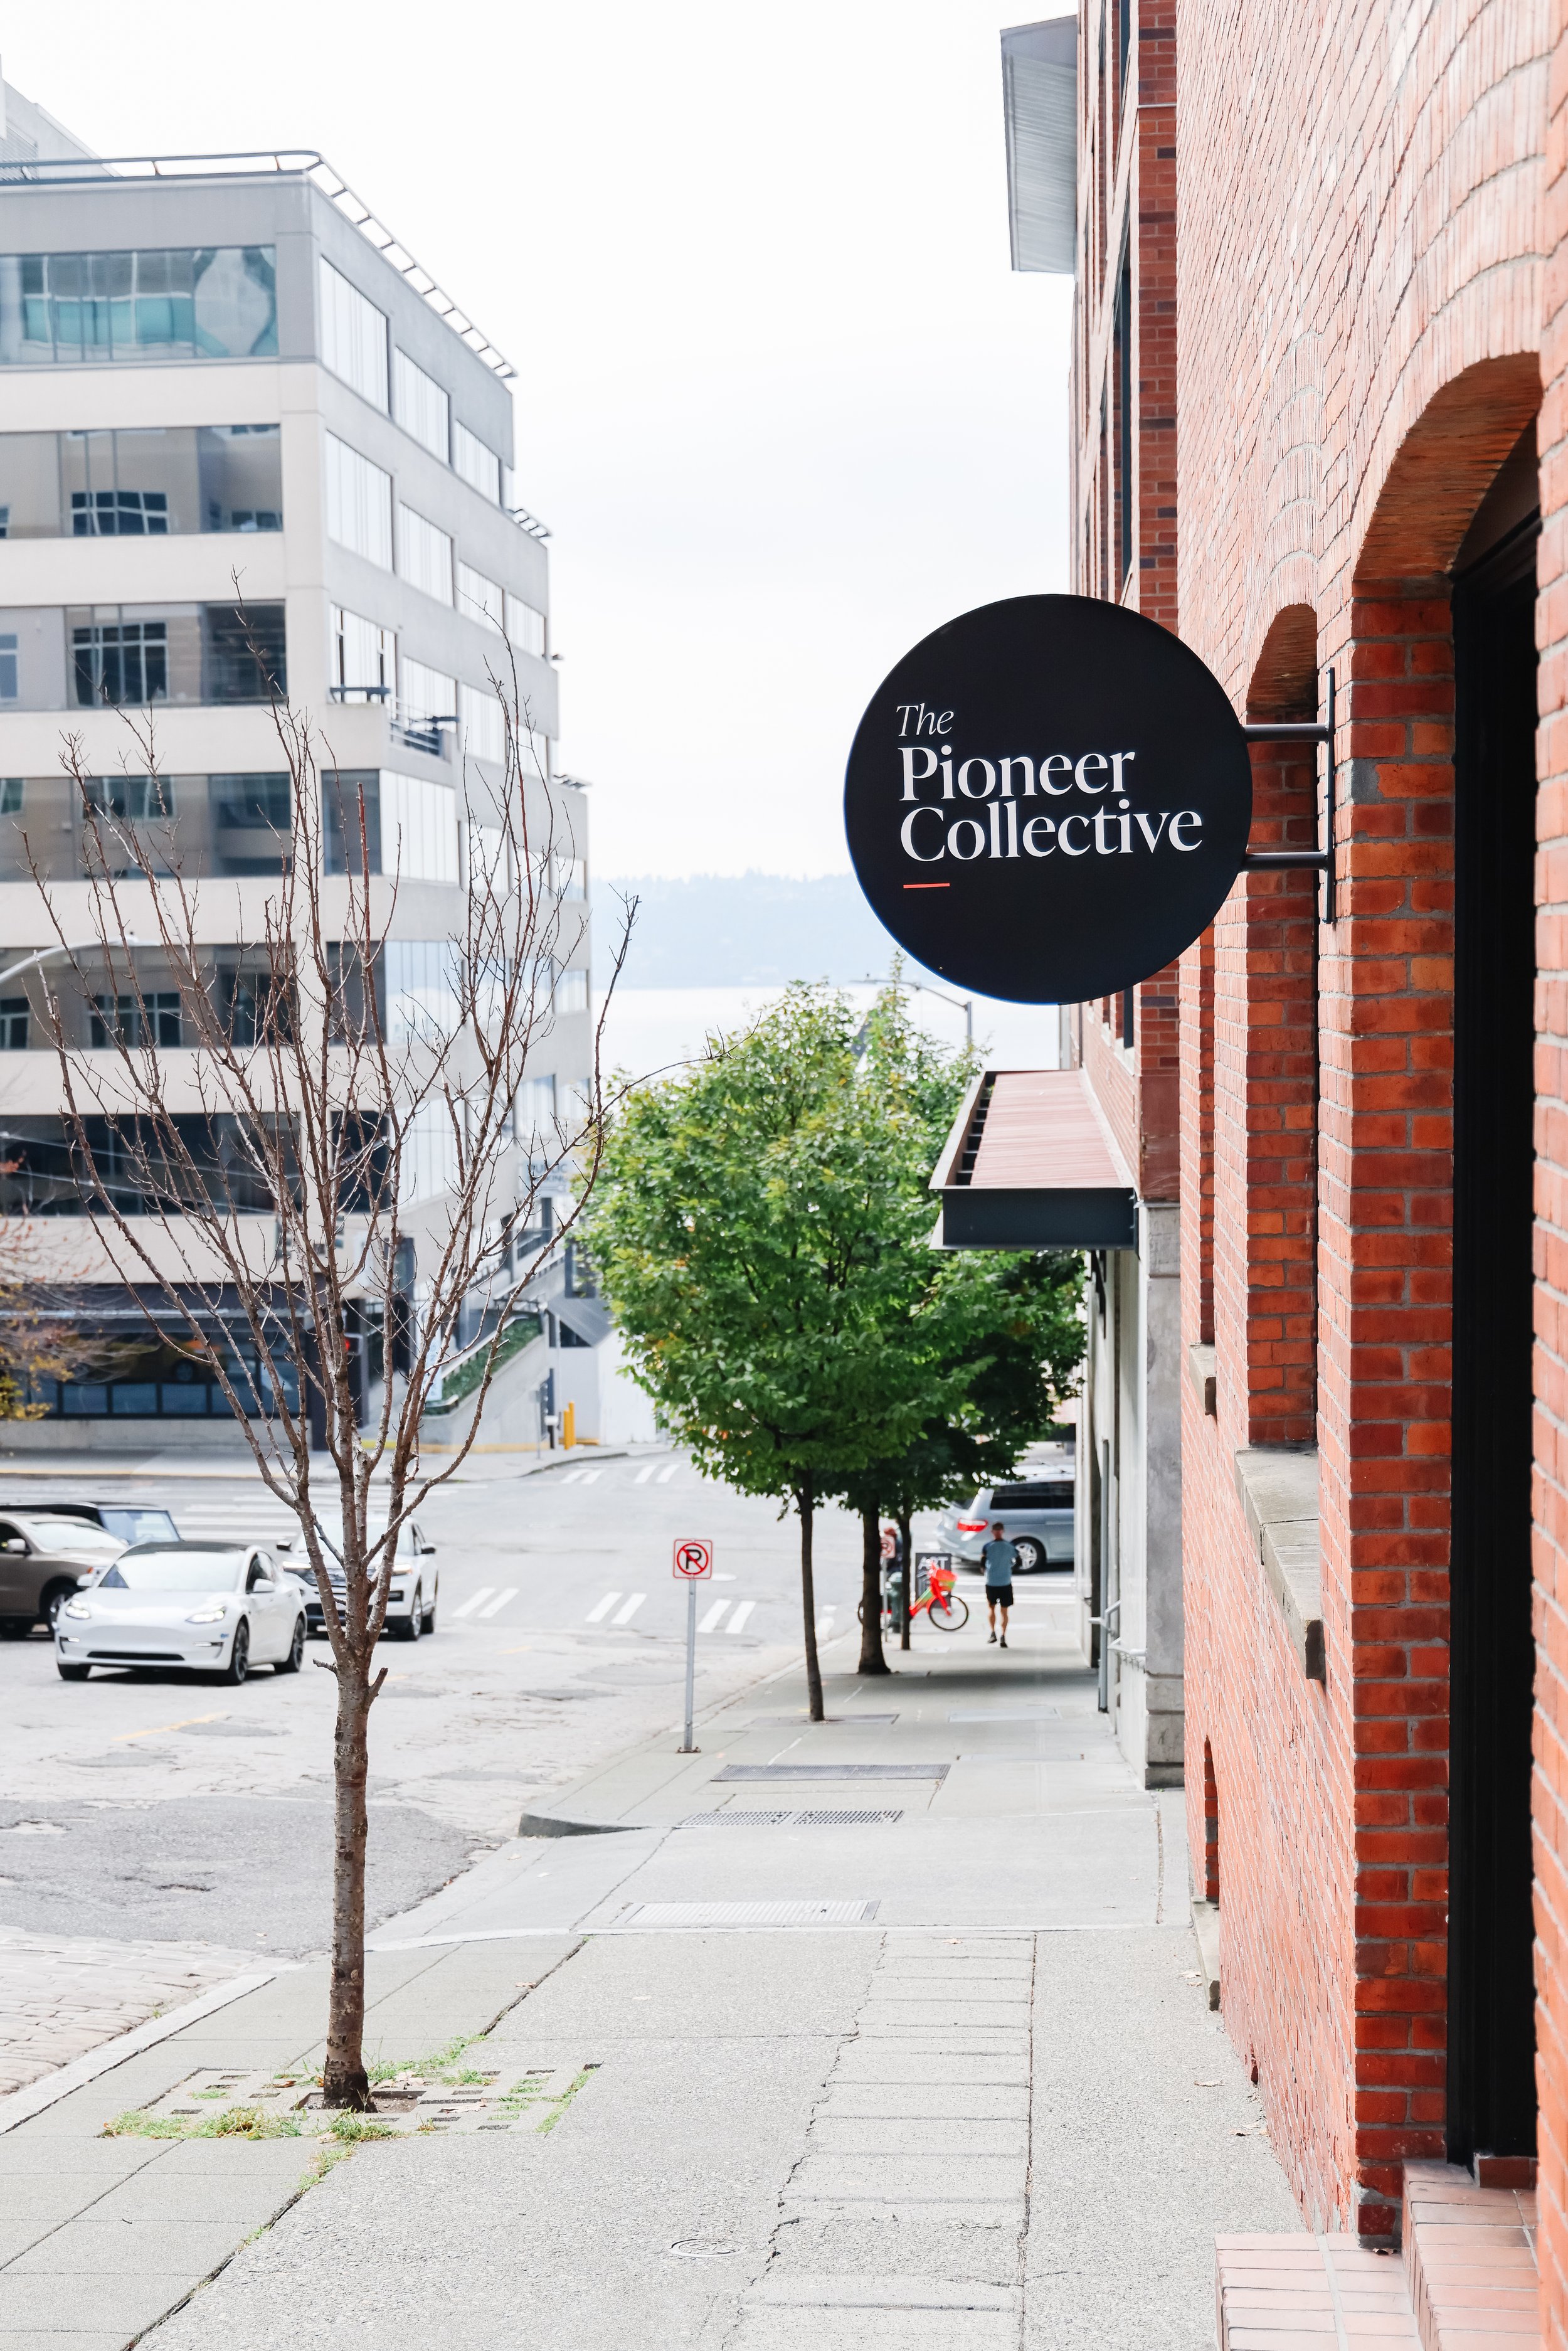
Audrey put her sign-making skills to work creating all of the wayfinding signage and hand-painting our new retail blade sign, both of which are pictured below.
Conclusion
About six months after we started the build, we were ready to open. Unfortunately, this coincided with the peak of the Delta wave of COVID-19, so while we were ready to welcome the workers of Seattle, Seattle wasn’t ready for us. We didn’t really have an official opening date, rather we limped along in “soft-open mode,” selling memberships and filling offices for the first few months while individuals and companies re-calibrated their own comfort levels with working in a shared office environment. Thankfully, the little wins compounded and by the end of 2021, after a year of hard work and setbacks, we were 90% full and reaching pre-pandemic revenue levels. We were finally able to catch our breath with the knowledge that our bet had paid off.
In addition to saving the company significant money, it was great for me to have a physical job-site to visit every day. I don’t do well working from home for long stretches, I dislike video conferencing, and this project kept me blissfully distracted from our hemorrhaging P&L. Looking back on it, we managed to pull off a pretty impressive transformation on a very tight budget. We spent less than $20 per square foot when the industry standard is over $100 and ended up with a space that is functional, welcoming and warm. Ultimately, I’m not a project manager, but I’m glad I was able to play one for a year. I gained great experience and a lot of knowledge about the construction process that will serve TPC well when designing and bidding jobs in the future.